Getting started with Dataverse SDK
A quick guide to get you started with the dataverse runtime connector SDK.
After reading this guide, you will be able to connect with the dataverse browser extension, create, load, update and monetize a file.
Before we start, please make sure you have created your dataverse-app and defined the data models you want to use in your app using the create-dataverse-app framework.
Prerequisites
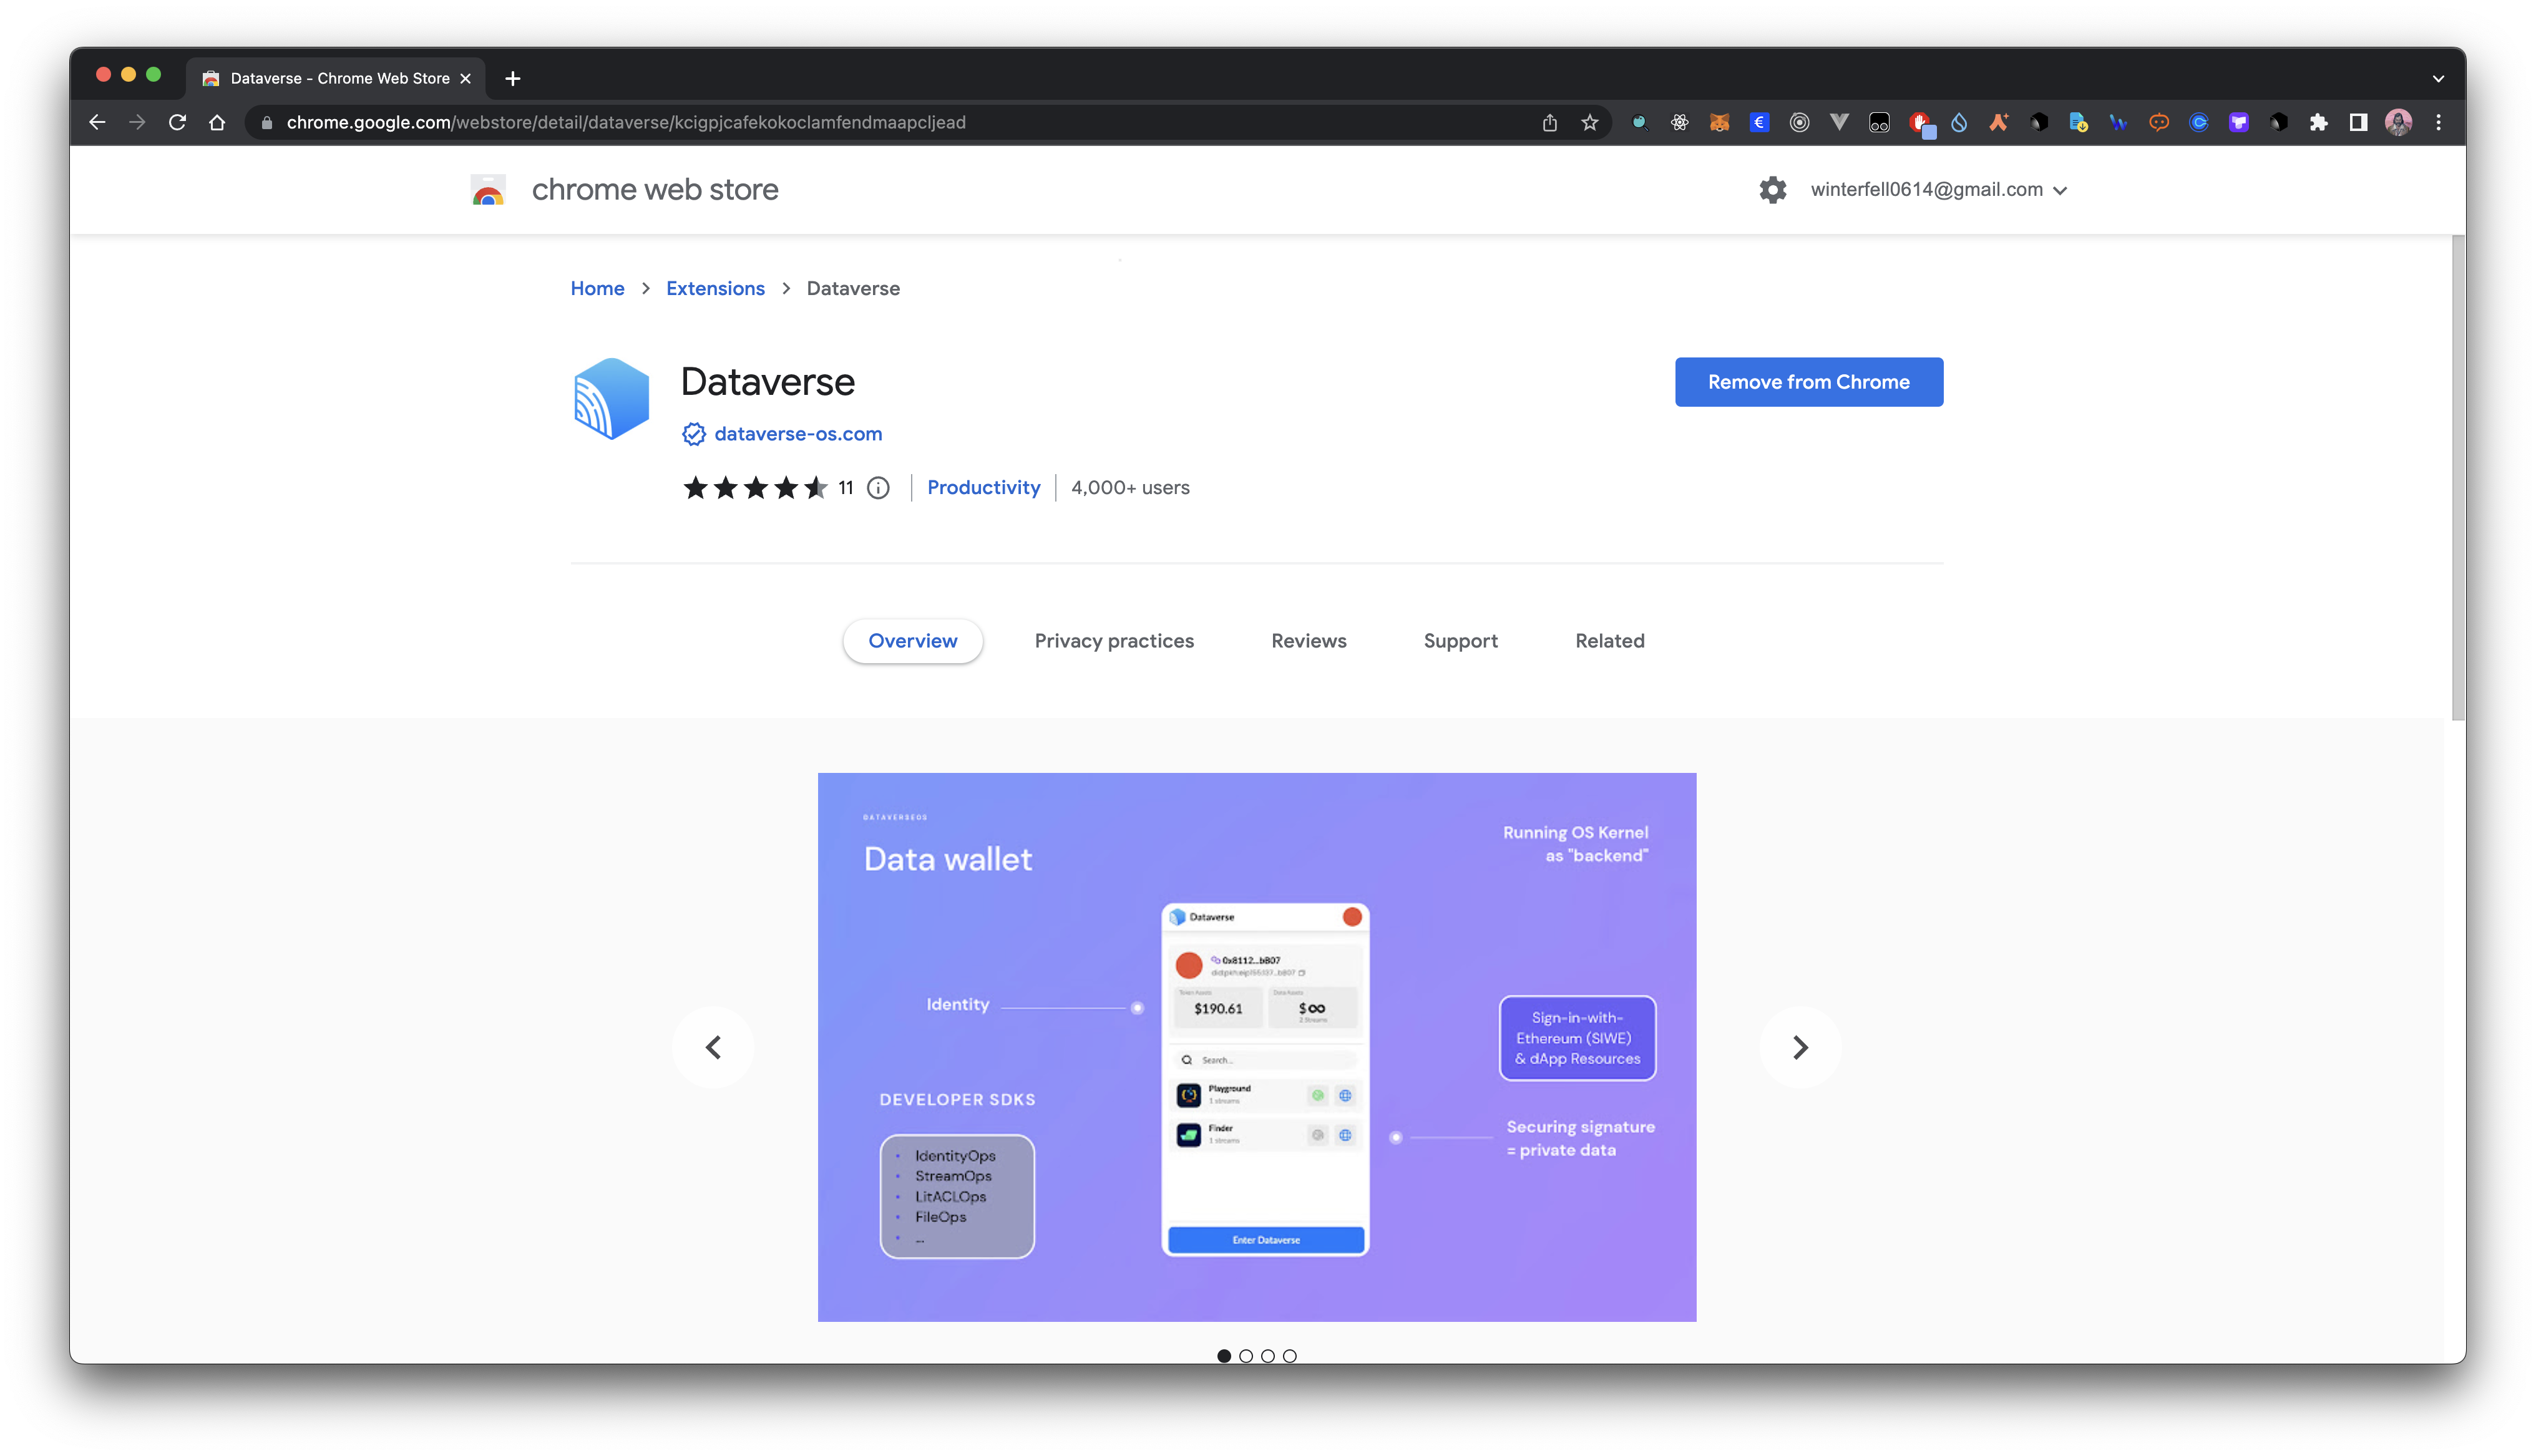
Install Dataverse wallet
Dataverse Wallet is a Chrome browser extension. We need to make sure it's installed and it's updated to the latest version before we proceed with the development.
Download on chrome store (opens in a new tab)
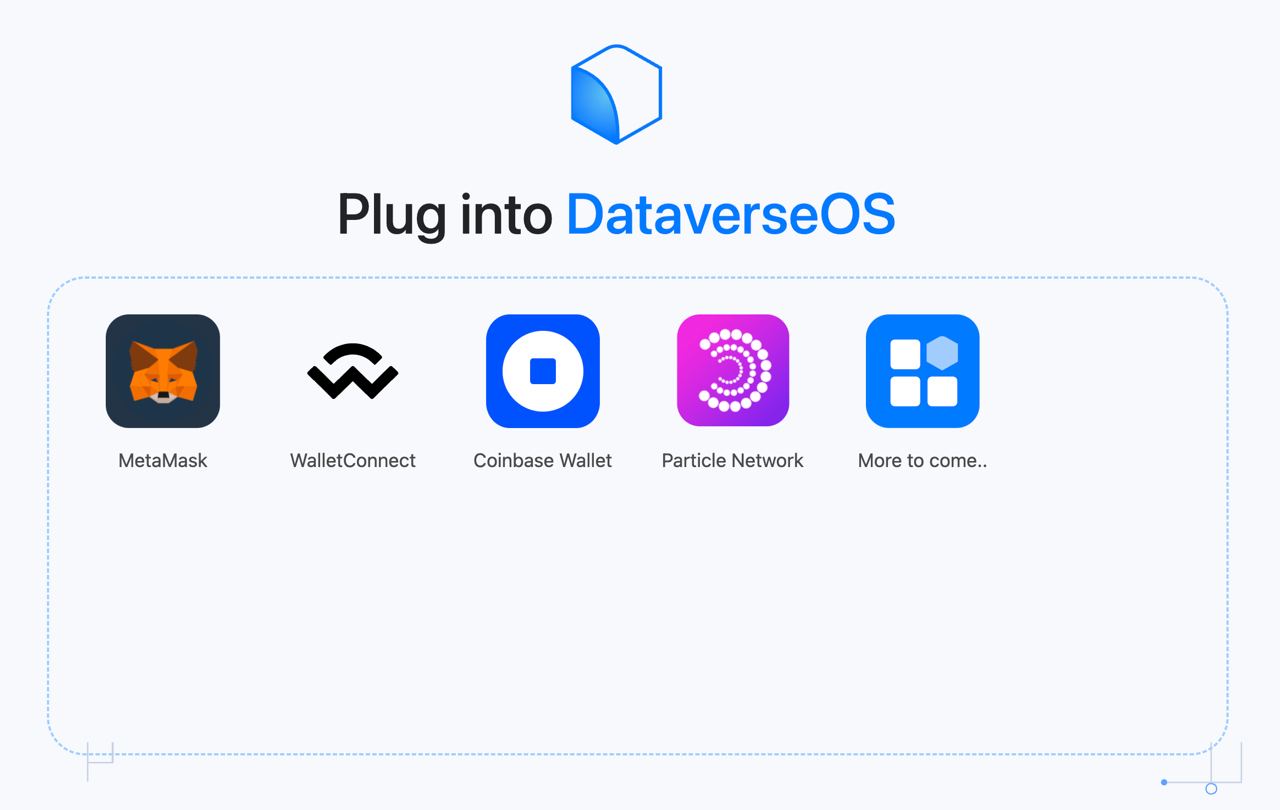
 You may sign in with MetaMask, WalletConnect, Coinbase Wallet or Particle Social Account and create a new identity.
Install JS SDK
pnpm install @dataverse/dataverse-connectorStep 1: Initialize the connector
// After installation, you can import the SDK and initialize the dataverse connector.
/** Import Dataverse Connector SDK */
import { DataverseConnector } from '@dataverse/dataverse-connector';

/** Initialize the dataverse connector class object */
const dataverseConnector = new DataverseConnector();
If you are using the SDK in a Vite project, you may need to add the following to your vite.config.ts file:
export default defineConfig({
  ...
  define: {
    'process.env': {},
  },
  ...
});
Step 2: Connect with user wallet
import React, { useState } from 'react';

/** Import Dataverse Connector SDK and types */
import {
  DataverseConnector,
  WALLET
} from "@dataverse/dataverse-connector";

/**
 * Initialize the Dataverse Connector
 */
const dataverseConnector: DataverseConnector = new DataverseConnector();

const App: React.FC = () => {
  const [wallet, setWallet] = useState<WALLET>();

  const connectWallet = async () => {
    try {
      const res = await dataverseConnector.connectWallet();
      setWallet(res.wallet);
      return(res.address);
    } catch (error) {
      console.error(error);
    }
  };

  return (
    <button onClick={connectWallet}>
      Connect Wallet
    </button>
  );
};

export default App;
The connectWallet function receives an optional parameter wallet to specify which wallet to use.
enum WALLET {
  METAMASK = "MetaMask",
  WALLETCONNECT = "WalletConnect",
  COINBASE = "Coinbase",
  PARTICLE = "Particle"
}
if not specified (pass in no parameters), the function will open an option page for users to choose which wallet to use.
Step 3: Create capability
import { RESOURCE } from '@dataverse/dataverse-connector';

const app = 'YOUR_APP_NAME';

const createCapability = async () => {
  const pkh = await dataverseConnector.runOS({
    method: SYSTEM_CALL.createCapability,
    params: {
      appId,
      resource: RESOURCE.CERAMIC,
      wallet,
    },
  });
  return pkh;
};
This will open a popup window to ask for user permission to connect with the application. We use Sign-in-with-Ethereum signatures to authenticate the user approvement. The popup shall be like this:

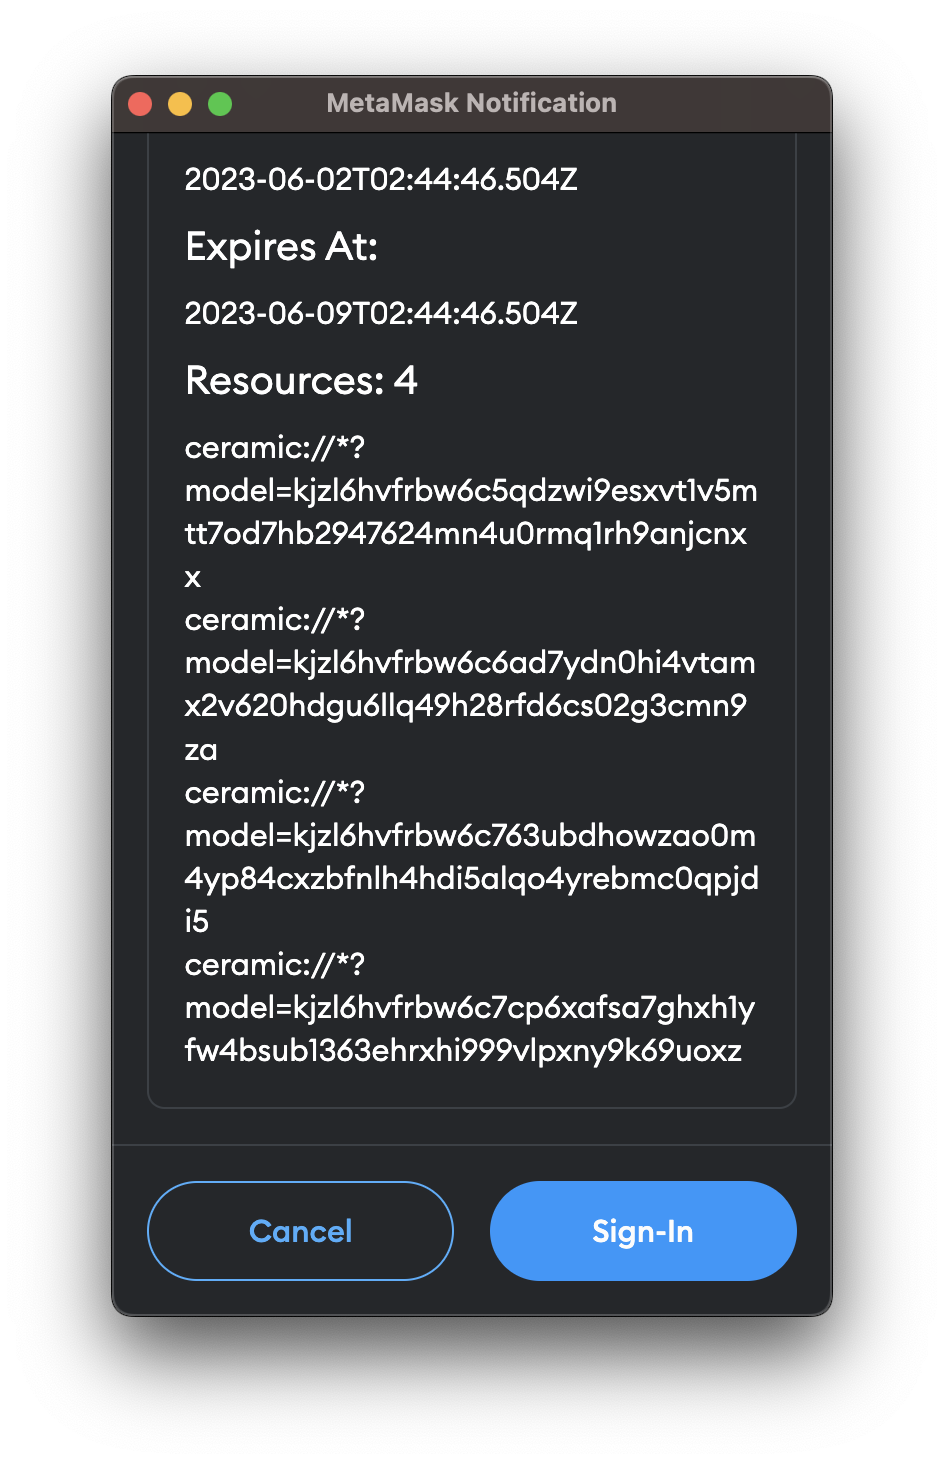
It returns: pkh: string - a pkh 'DID' you may use to interact with the data resources later.
Step 4: Create a file
File is the smallest unit of data in our system.
Unlike IPFS CID which 1. cannot be changed after upload 2. are discrete and not related, files can be updated after creation and linked between each other.
Each file belongs to a data model. For example, if you have created a data model called post as a data structure for posts in a social app
type post @createModel(accountRelation: LIST, description: "post") {
  author: DID! @documentAccount # DID of the user who created this post
  version: CommitID! @documentVersion
  appVersion: String! @string(maxLength: 100)
  text: String @string(maxLength: 300000000) # text content of the post
  images: [String] @list(maxLength: 10000000) @string(maxLength: 2000000) # images of the post
  videos: [String] @list(maxLength: 10000000) @string(maxLength: 2000000) # videos of the post
  options: String @string(maxLength: 300000000)
  createdAt: DateTime! # time when the post is created
  updatedAt: DateTime! # time when the post is updated
}
createIndexFile under this post model is how you create posts.
const encrypted = JSON.stringify({
  text: false,
  images: false,
  videos: false,
});

const res = await dataverseConnector.runOS({
  method: SYSTEM_CALL.createIndexFile,
  params: {
    modelId,
    fileName: "post1",
    fileContent: {
      modelVersion: "0.0.1",
      text: "hello",
      images: [
        "https://bafkreib76wz6wewtkfmp5rhm3ep6tf4xjixvzzyh64nbyge5yhjno24yl4.ipfs.w3s.link",
      ],
      videos: [],
      createdAt: new Date().toISOString();,
      updatedAt: new Date().toISOString();,
      encrypted,
    },
  },
});
return example
{
  "pkh": "did:pkh:eip155:1:0xb4D93398f6F3FB5EE4436D1aE93b32d65693a799",
  "appId": "a3f0ac63-ff7d-4085-aade-c04888b71088",
  "modelId": "kjzl6hvfrbw6catek36h3pep09k9gymfnla9k6ojlgrmwjogvjqg8q3zpybl1yu",
  "fileContent": {
    "content": {
      "text": "hello",
      "images": [
        "https://bafkreib76wz6wewtkfmp5rhm3ep6tf4xjixvzzyh64nbyge5yhjno24yl4.ipfs.w3s.link"
      ],
      "videos": [],
      "createdAt": "2023-11-02T08:04:53.380Z",
      "encrypted": "{\"text\":false,\"images\":false,\"videos\":false}",
      "updatedAt": "2023-11-02T08:04:53.380Z",
      "modelVersion": "0.0.1"
    },
    "file": {
      "fsVersion": "0.11",
      "contentId": "kjzl6kcym7w8y8wx1zuujmssq4wj6o6paynupzmidz7izcsiqwgpnt1uyo9lg2a",
      "contentType": {
        "resource": "CERAMIC",
        "resourceId": "kjzl6hvfrbw6catek36h3pep09k9gymfnla9k6ojlgrmwjogvjqg8q3zpybl1yu"
      },
      "fileName": "create a file",
      "fileType": 0,
      "createdAt": "2023-11-02T08:04:56.699Z",
      "updatedAt": "2023-11-02T08:04:56.699Z",
      "fileId": "kjzl6kcym7w8ya3kyamskljmo181t6z3vz6px0w90c76ea3m28g994t58341ijt"
    }
  }
}To create a file under a specific model, you need to specify the model id and
ensure your app has the capability to write data under this model. if not,
please use createCapability to create a capability for the model first.
Step 5: Load a file
You can load an indexFile's content by its id.
await dataverseConnector.runOS({
  method: SYSTEM_CALL.loadFile,
  params: indexFileId,
});
You can also load multiple indexFiles under a model using loadFilesBy.
await dataverseConnector.runOS({
  method: SYSTEM_CALL.loadFilesBy,
  params: {
    modelId,
    pkh,
  },
});
The pkh field is optional. If not specified, it will return all streams under the model. Otherwise, it will return streams under the model that are created by the user.
Step 6: Update a file
const date = new Date().toISOString();

const encrypted = JSON.stringify({
  text: true,
  images: true,
  videos: false,
});

const res = await dataverseConnector.runOS({
  method: SYSTEM_CALL.updateIndexFile,
  params: {
    fileId,
    fileName: 'new-post1',
    fileContent: {
      appVersion: '0.1.0',
      text: 'hello',
      images: [
        'https://bafkreib76wz6wewtkfmp5rhm3ep6tf4xjixvzzyh64nbyge5yhjno24yl4.ipfs.w3s.link',
      ],
      videos: [],
      createdAt: date,
      updatedAt: date,
      encrypted,
    },
  },
});
updateIndexFile shares the same parameters as createIndexFile, except the fileId is required.
and the return value is in the same format as createIndexFile.
Step 7: Monetize a file
import { Currency } from "@dataverse/dataverse-connector";

const res = await dataverseConnector.runOS({
  method: SYSTEM_CALL.monetizeFile,
  params: {
    ...(indexFileId ? { indexFileId } : { streamId }),
    datatokenVars: {
      profileId,
      collectLimit: 100,
      amount: 0.0001,
      currency: Currency.WMATIC,
    },
    decryptionConditions: [
      ...
    ]
  },
});
To put it simply, data monetization is to deploy a collection of NFTs on the blockchain
and use the NFT as access credentials to the data. We deployed multi version of smart contracts for this process of converting off-chain data to on-chain NFTs.
By default, leave the profileId as null, and the transaction will go through dataverse default profileless smart contracts.
We're also compatible with Lens Protocol (opens in a new tab) in case you want to use their smart contracts and let your lens handle own your data. Pass in your lens profile id to profileId to use Lens Protocol here.
decryptionConditions specifies a set of conditions to limit access to the data.
For example
[
  {
    conditionType: 'evmBasic',
    contractAddress: '',
    standardContractType: '',
    chain: 'filecoin',
    method: '',
    parameters: [':userAddress'],
    returnValueTest: {
      comparator: '=',
      value: '0x3c6216caE32FF6691C55cb691766220Fd3f55555',
    },
  },
];
This condition specifies that the data can only be accessed by the
wallet address 0x3c6216caE32FF6691C55cb691766220Fd3f55555 on filecoin chain.
Step 8: Purchase a file
await dataverseConnector.runOS({
  method: SYSTEM_CALL.collectFile,
  params: indexFileId,
});
This will send a transaction to mint an NFT to the user's wallet address. The NFT is the access credential to the data.
monetizeFile and collectFile functions are on Mumbai testnet for now.
After purchase completed, you can load the file content using unlockFile function.
await dataverseConnector.runOS({
  method: SYSTEM_CALL.unlockFile,
  params: indexFileId,
});