Step 4: Register your app to the dapp table
Before running your app, you need to fill in your private key in .env file.
The private key will be used to sign messages and manage your app as your authorization.
You should keep the key safe as if it is leaked, your app may be stolen.
If you are using a self-hosted ceramic node, you should use the private key of the adminDID of your ceramic node.
If you are using a test ceramic node, you can use any private key here. We highly recommend you to use
a new private key for testing. You can generate a new private key by running
dataverseos keypair- Install dependencies
pnpm install- Deploy your app
dataverseos deployThis command will deploy your app to the DataverseOS testnet and register your app to the dapp table. If successfully, you will see the following output:
🔑 Please input your private-key: ******************************************************************
👤 Deploy with account 0x97A087435784d3A30Ae0Ed73e93a5CEE2292019B
🚌 Reading custom dataverse models...
🚄 Reading dataverse config...
🛫 Reading file system models...
🚀 Generating dapp mutation params...
📡 Creating dataverse_app_with_toolkits_example...
✅ Create successfully, dapp-id is 5ea78b99-4393-44d1-abc2-a87c149a7490
✨ You can check the dapp info in output/app.json
Now you can run pnpm dev to run react demo.
And the details of your app deployment will be printed out to /output/app.json.
An example here:
{
  "id": "5ea78b99-4393-44d1-abc2-a87c149a7490",
  "createdAt": 1692770822,
  "updatedAt": 1692770822,
  "deletedAt": null,
  "name": "dataverse_app_with_toolkits_example",
  "logo": "https://bafybeifozdhcbbfydy2rs6vbkbbtj3wc4vjlz5zg2cnqhb2g4rm2o5ldna.ipfs.w3s.link/dataverse.svg",
  "website": [],
  "defaultFolderName": "Main",
  "description": "This is dataverse app example.",
  "models": [
    {
      "modelName": "post",
      "internal": false,
      "streams": [
        {
          "modelId": "kjzl6hvfrbw6c97s0v8kk3o7auc5yfskvksjvuggg7pb6ll0rghm1aprypajg9q",
          "createdAt": 1692770822,
          "schema": "type post @createModel(accountRelation: LIST, description: \"Dataverse: 5ea78b99-4393-44d1-abc2-a87c149a7490 | post\") {\n  author: DID! @documentAccount\n  version: CommitID! @documentVersion\n  appVersion: String! @string(maxLength: 100)\n  text: String @string(maxLength: 300000000)\n  images: [String] @list(maxLength: 10000000) @string(maxLength: 2000000)\n  videos: [String] @list(maxLength: 10000000) @string(maxLength: 2000000)\n  options: String @string(maxLength: 300000000)\n  createdAt: DateTime!\n  updatedAt: DateTime!\n  encrypted: String @string(maxLength: 300000000)\n}",
          "isPublicDomain": false,
          "encryptable": [
            "text",
            "images",
            "videos"
          ],
          "version": 0,
          "latest": true
        }
      ]
    },
    ...
  ],
  "address": "0x97A087435784d3A30Ae0Ed73e93a5CEE2292019B",
  "ceramic": "https://testnet.dataverseceramicdaemon.com"
}
Once the models are deployed, you will get the modelId of each model. You can use the modelId as the identifier of the models and
use them in your app later.
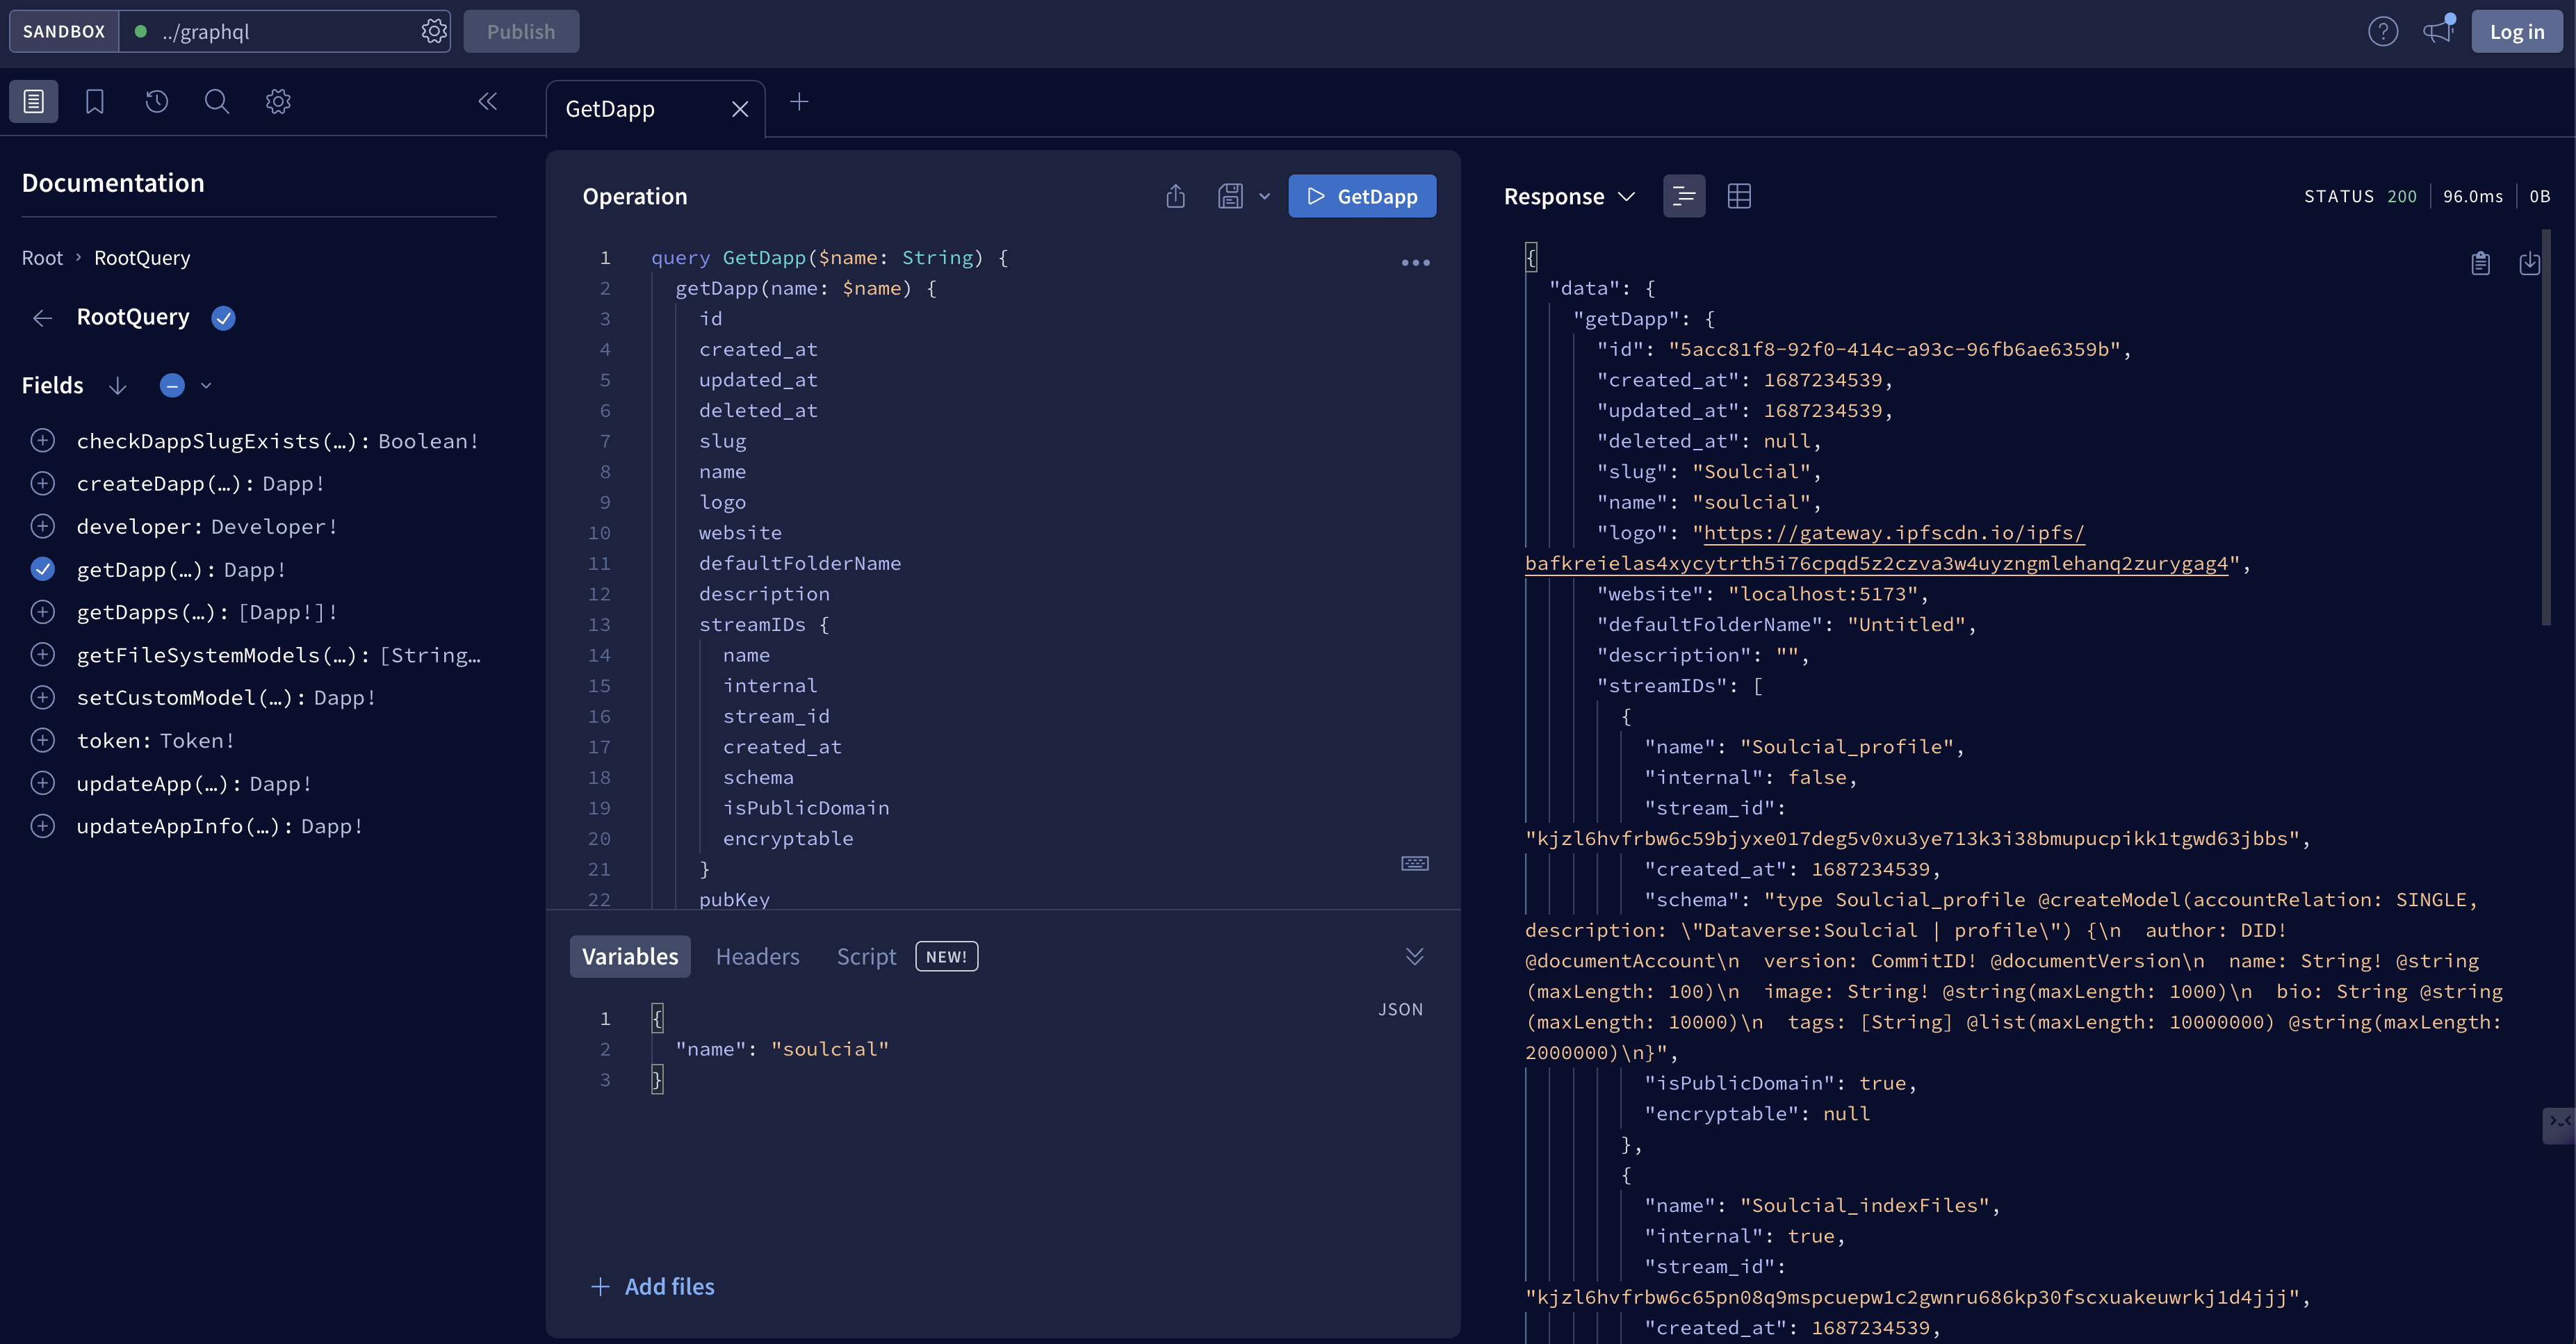
For more information like the schema of each model, you can visit graphql panel (opens in a new tab)
and use the getDapp query to get the details of your app.